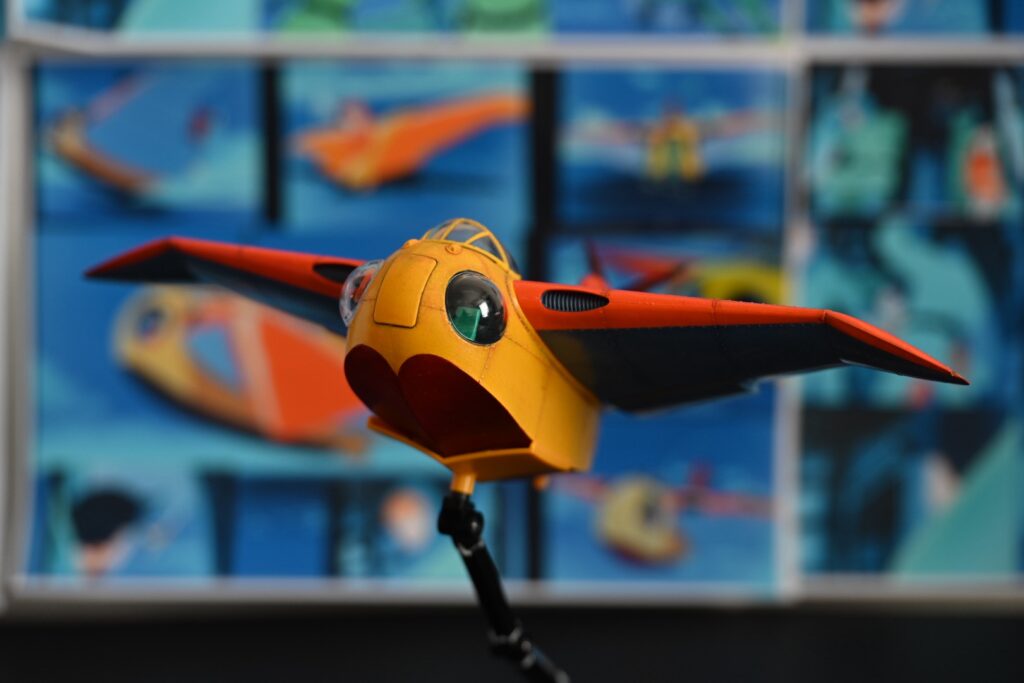
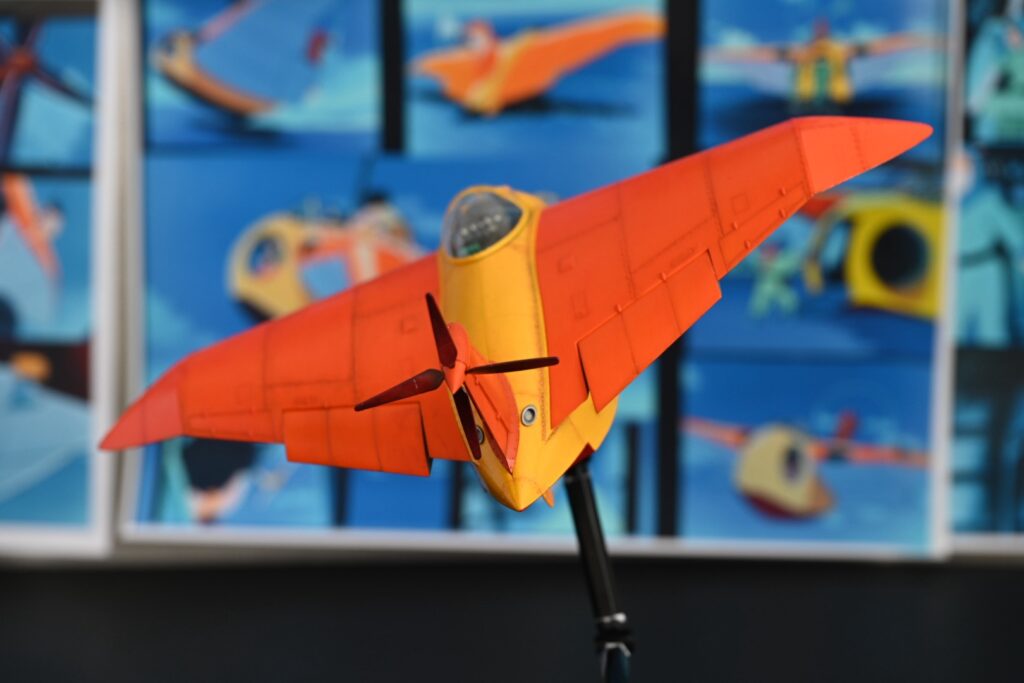
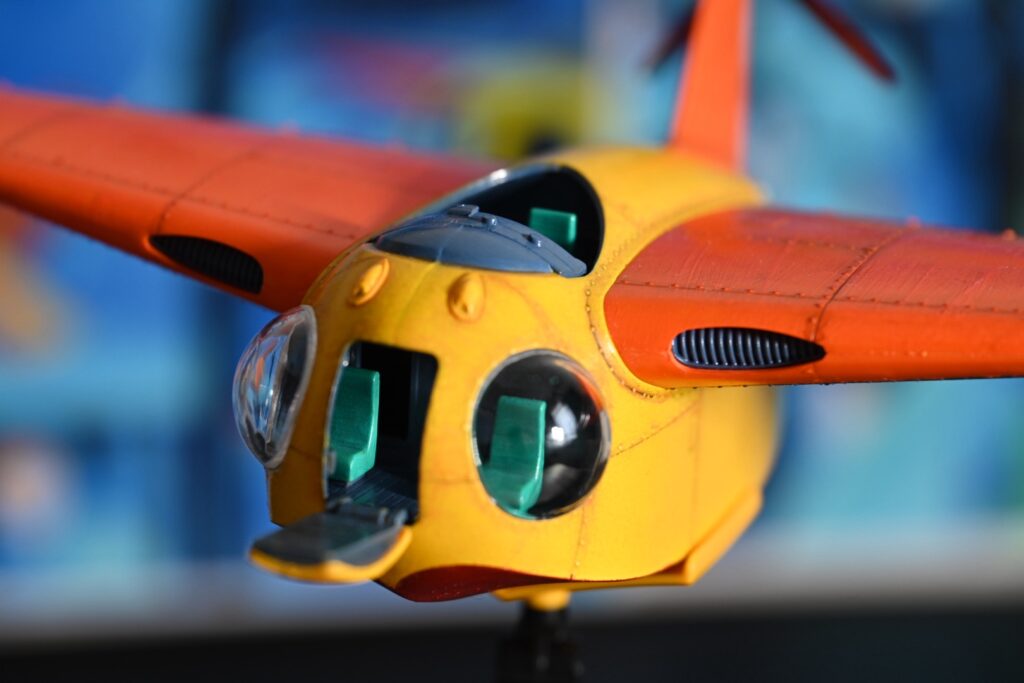
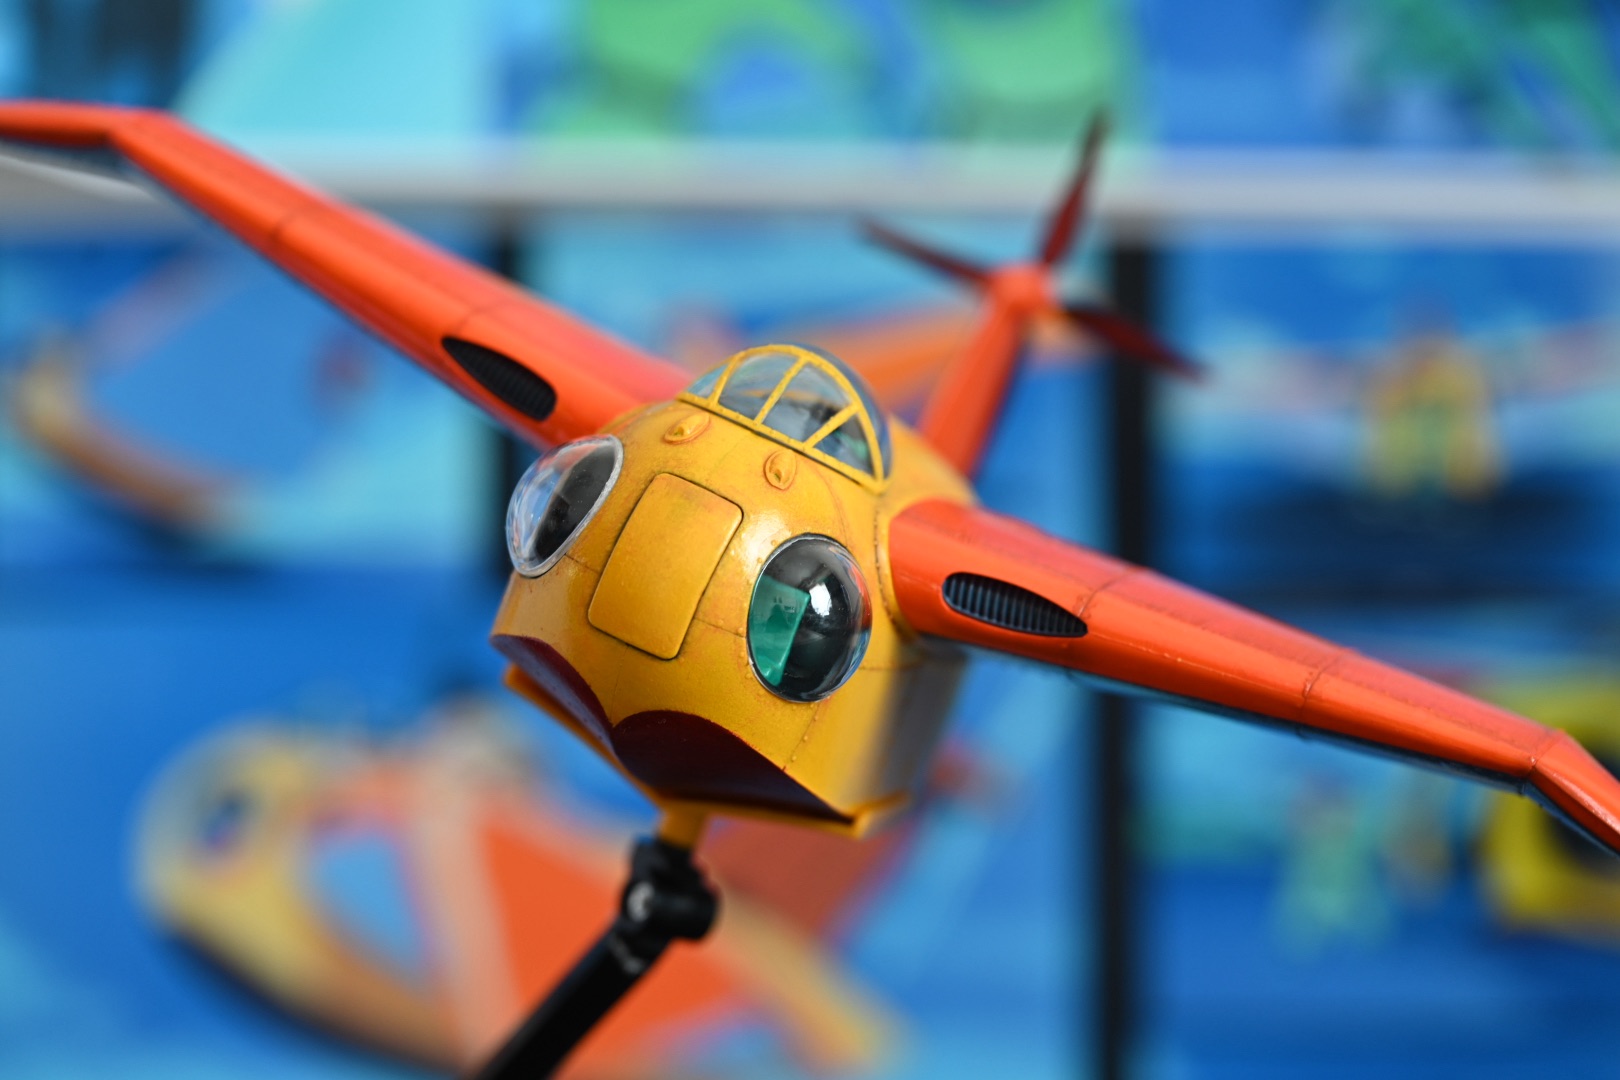
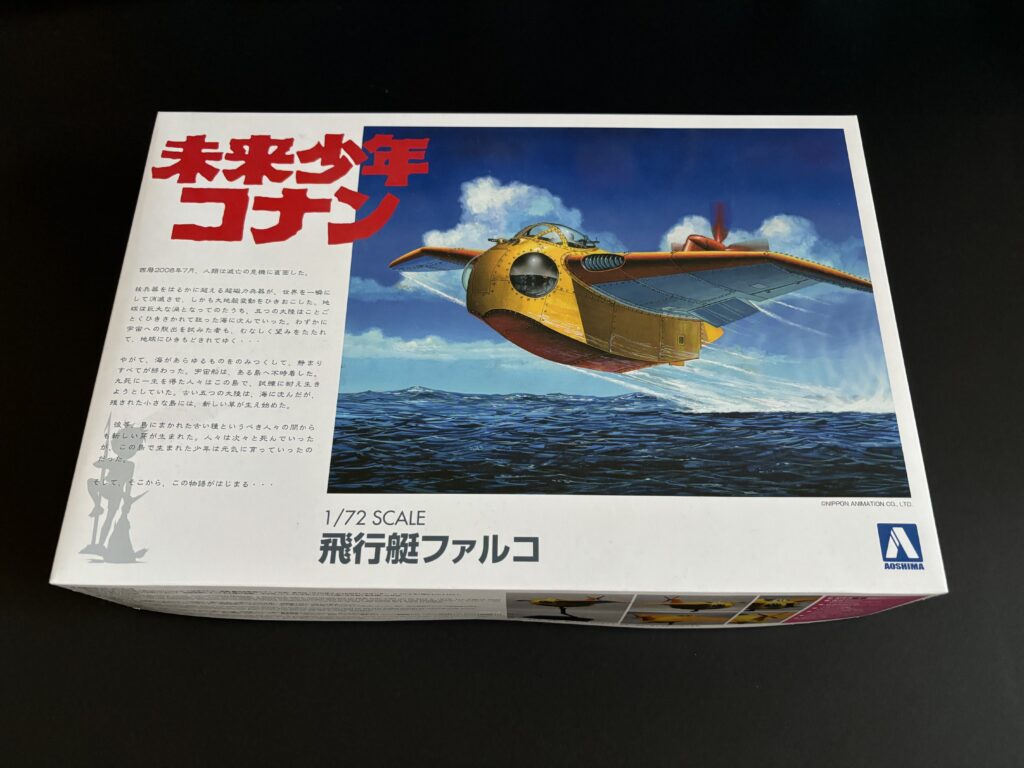
未来少年コナンに登場する戦闘機。
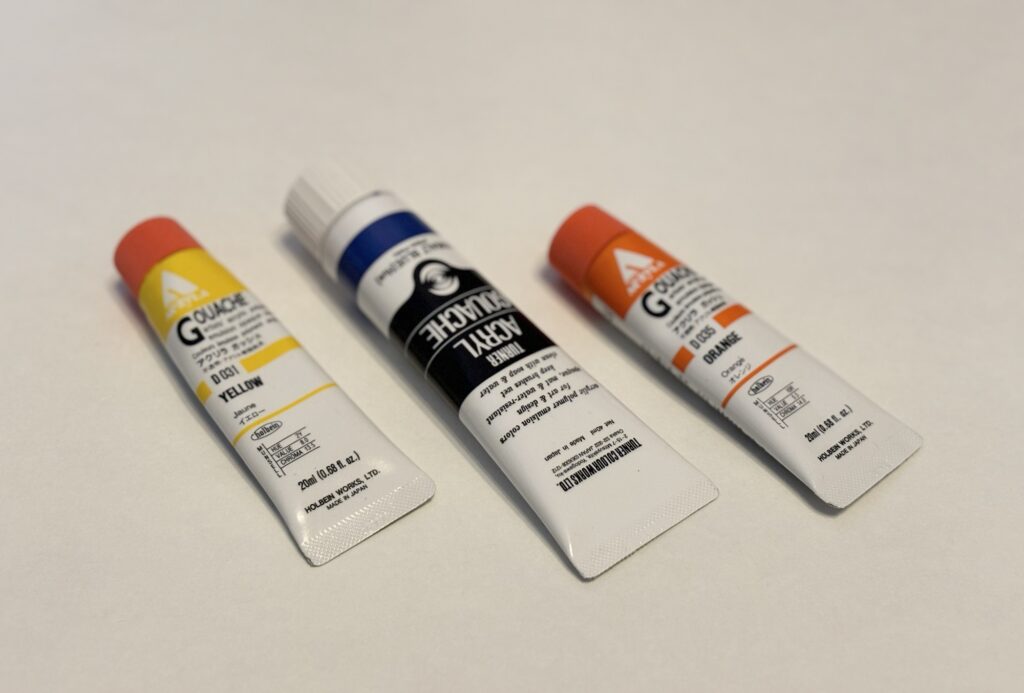
アクリルガッシュで塗装テスト用。
パーツも少なめ、簡単に組み立てられそう。
The combat aircraft from Future Boy Conan, for acrylic gouache painting test. The parts are few, and it seems easy to assemble.
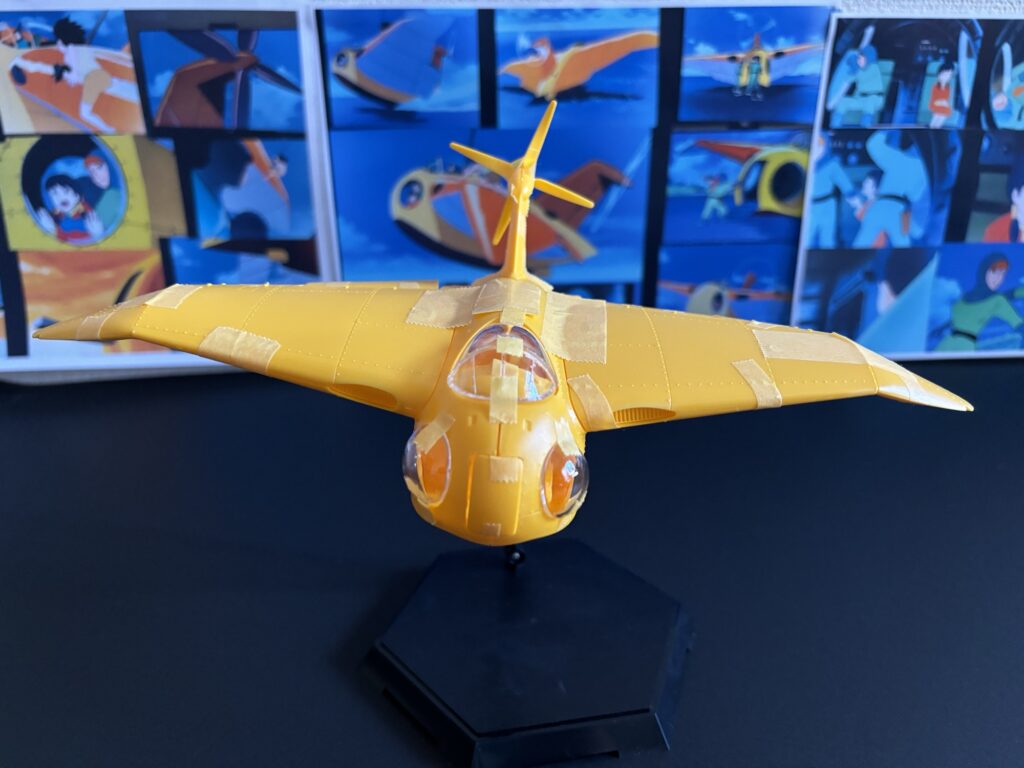
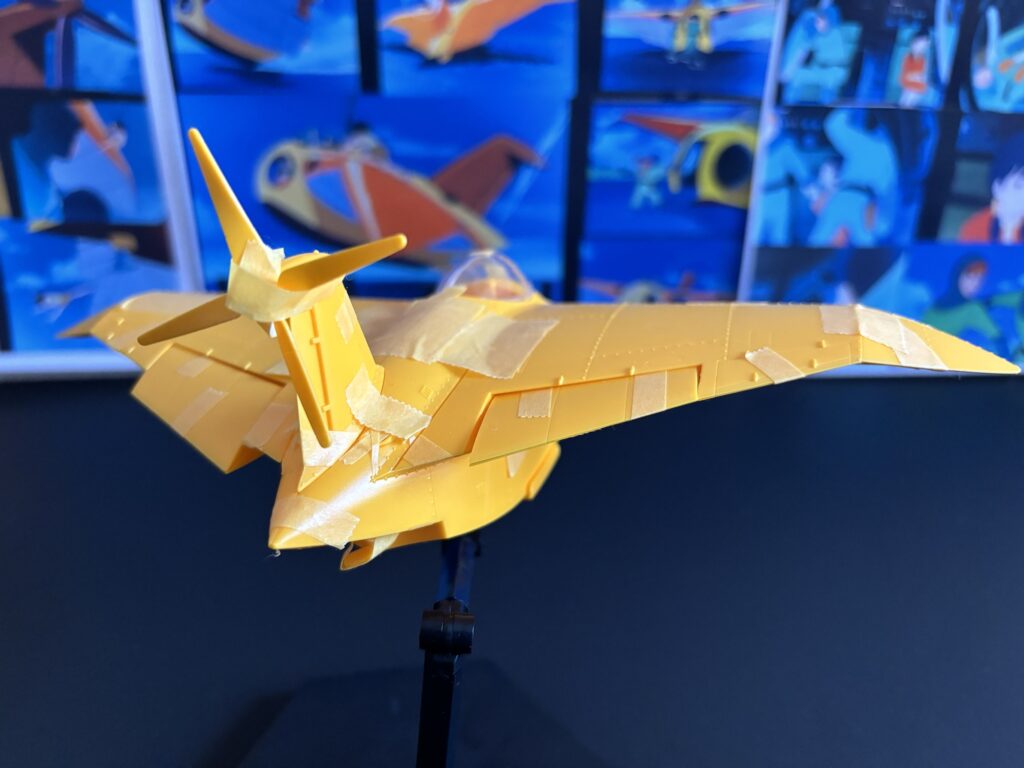
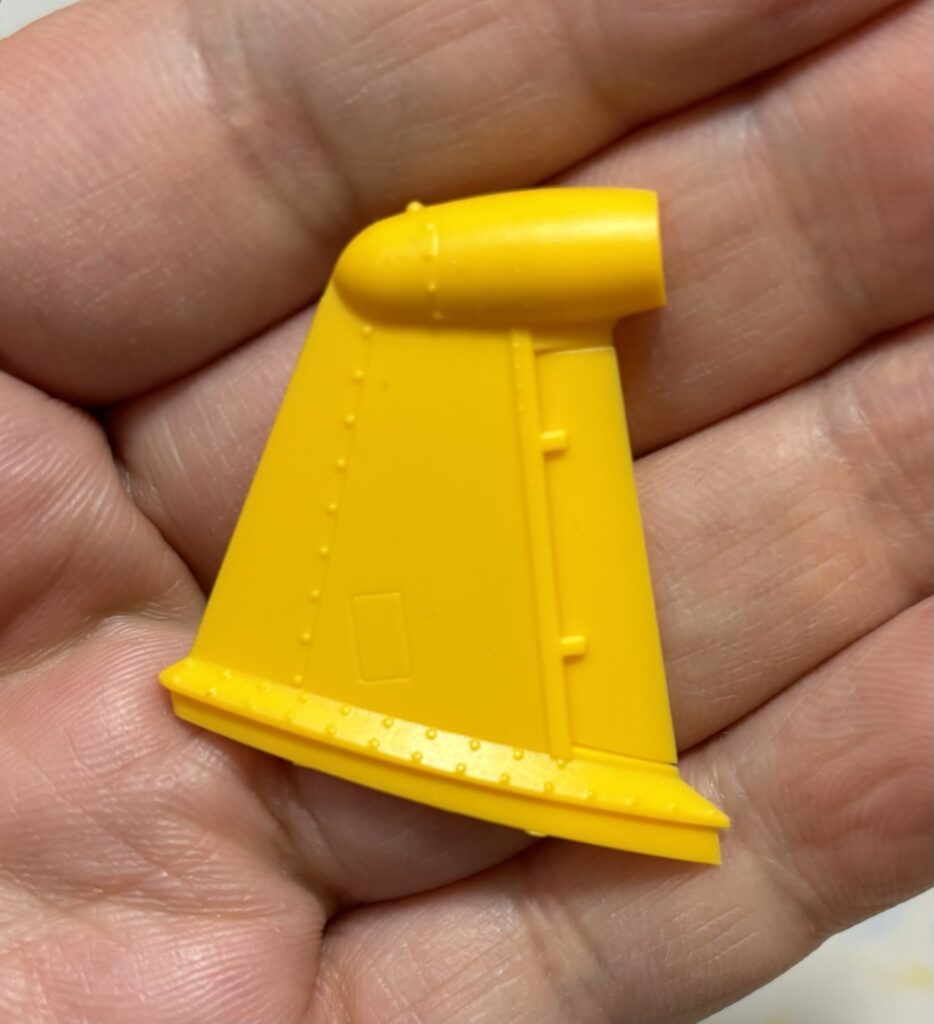
仮組 -Mock assembly-
黄色一色(笑)
塗装の参考用に映像をキャプチャ
All yellow (lol). Captured footage for painting reference.
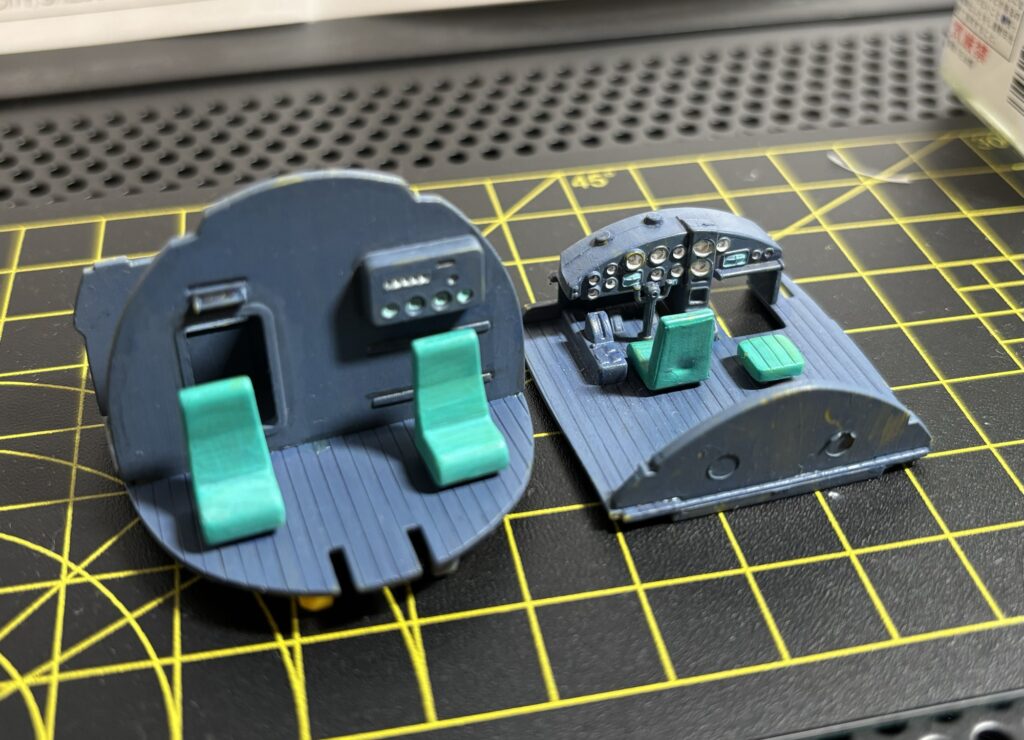
内部の塗装 -Interior painting-
アクリルガッシュを水で薄めて塗装
水が多すぎると色がのりずらい
墨入れ前に
塗装が剥げないようにトップコートを吹く
I diluted acrylic gouache with water for painting. If there’s too much water, the color doesn’t adhere well.
Before panel lining, I spray a topcoat to prevent the paint from chipping.
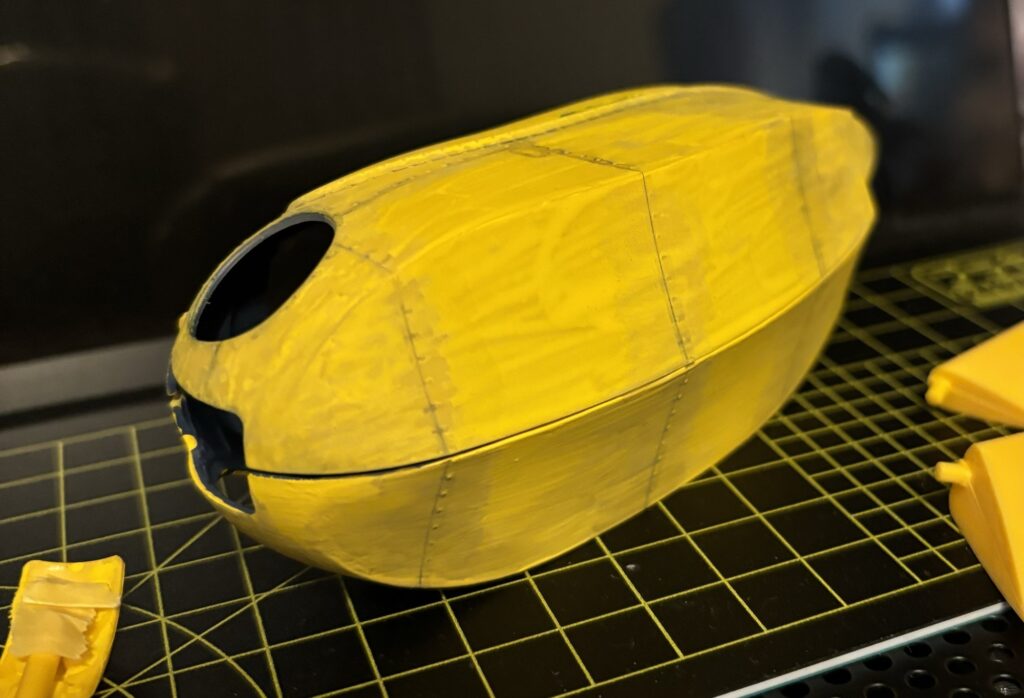
本体の塗装 -Main body painting-
内部の細かいパーツに比べて、面積が広いので筆むらが気になる
Compared to the small internal parts, the larger surface area makes brush strokes more noticeable.
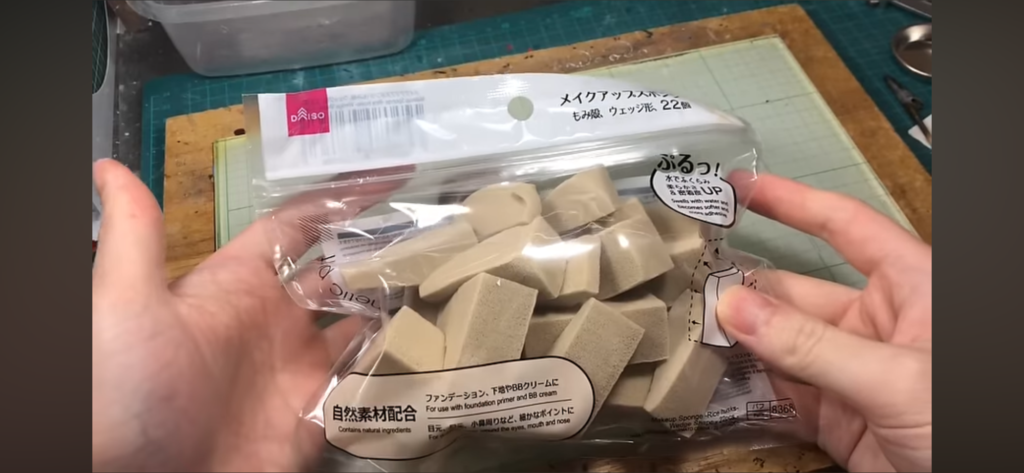
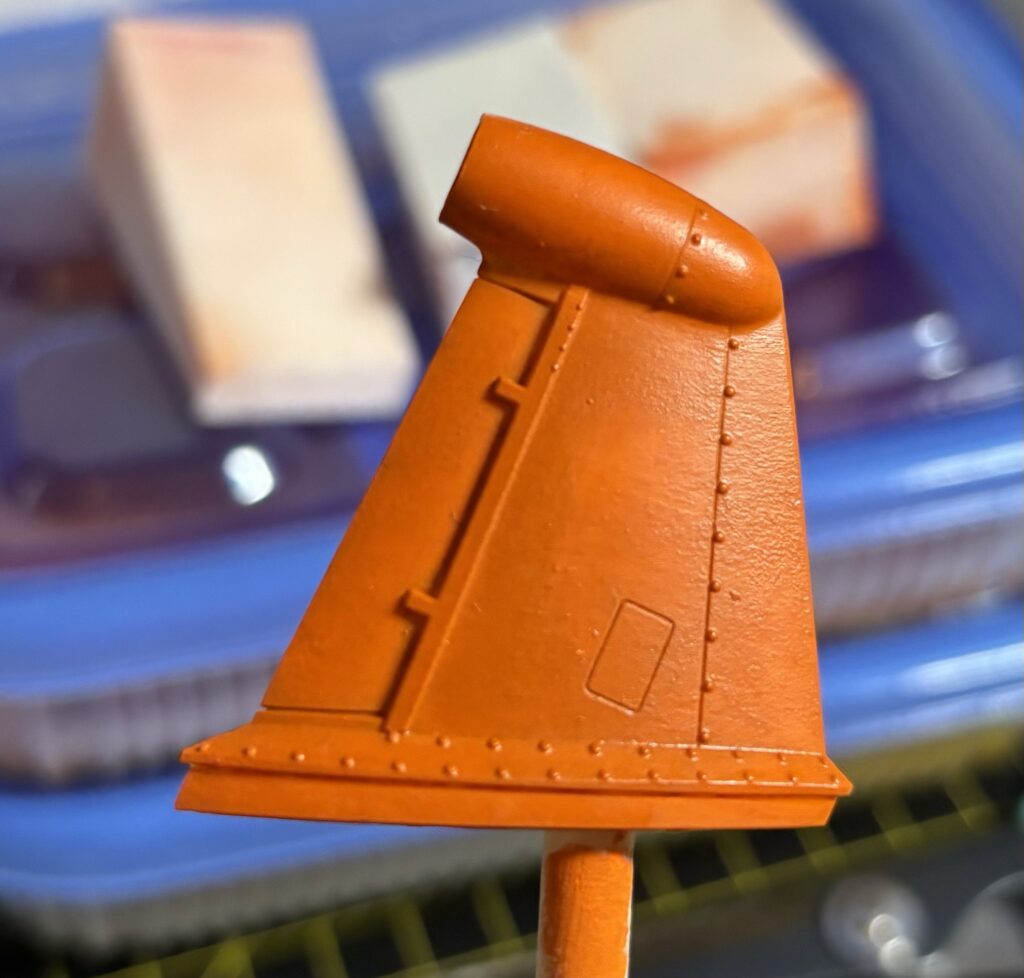
塗装方法の変更 -Change of painting method-
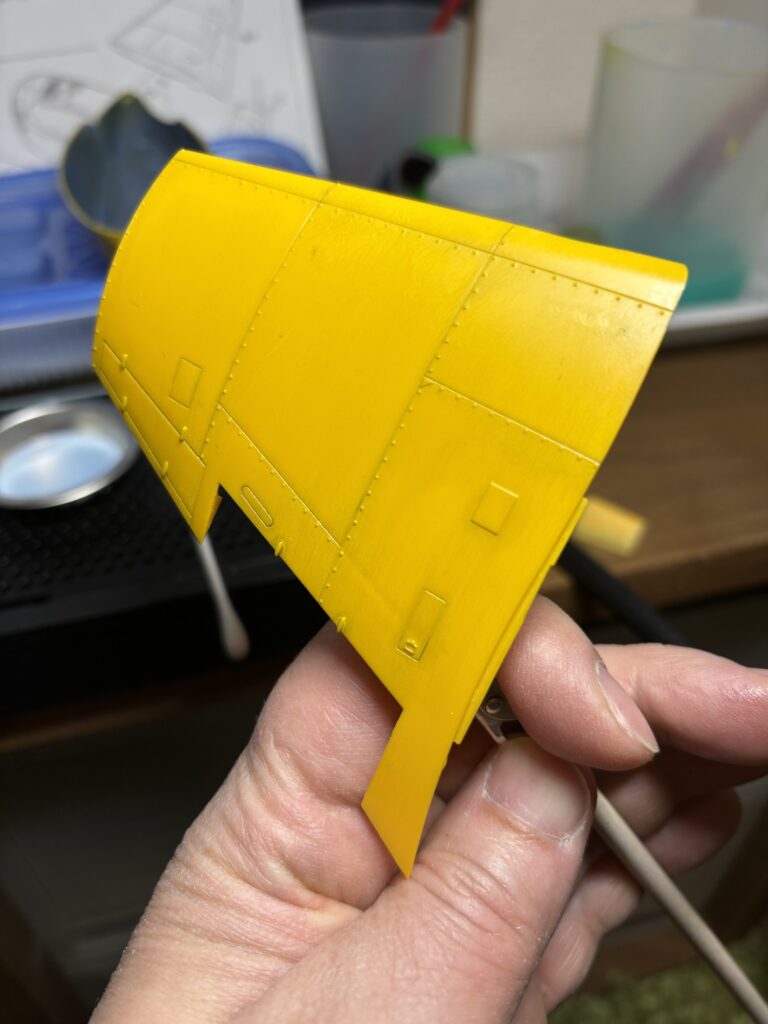
筆での塗装をやめて、メイクアップスポンジで塗装。アクリルガッシュを床ワックスで希釈することで塗料の定着を強化!
いい感じ!
I stopped using a brush for painting and switched to using a makeup sponge. By thinning acrylic gouache with floor wax, I enhanced the paint’s adhesion. It turned out great!
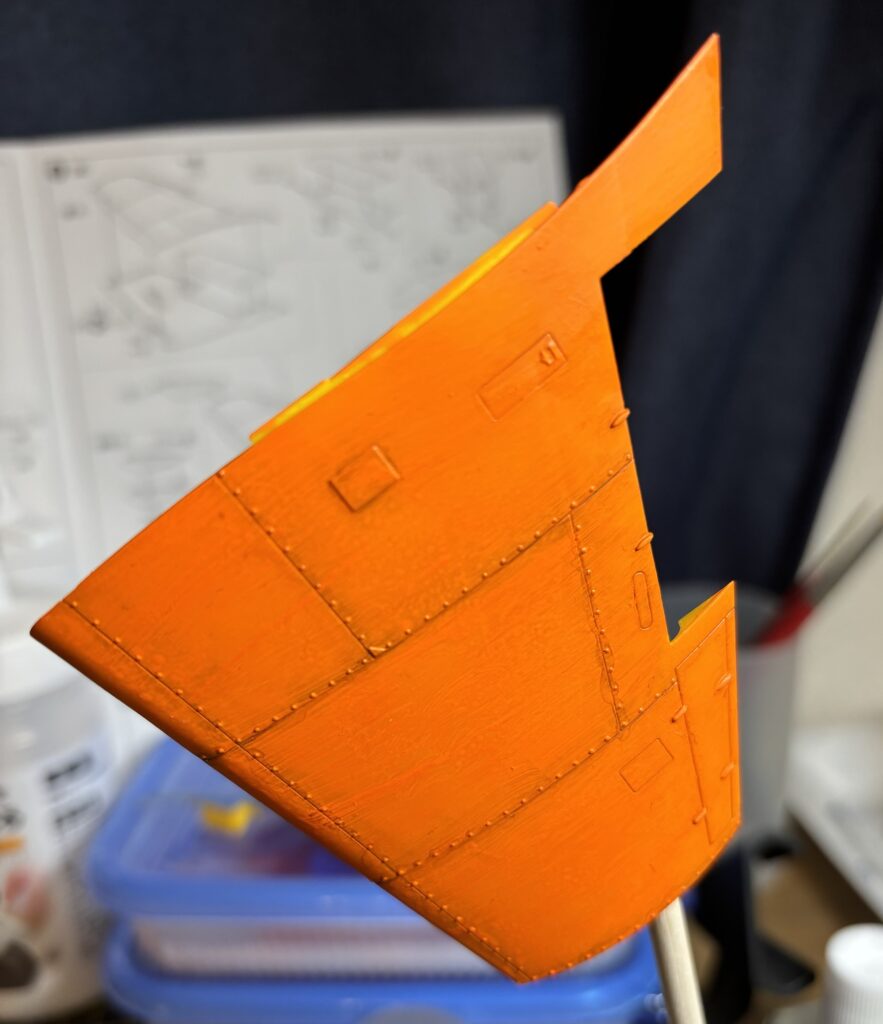
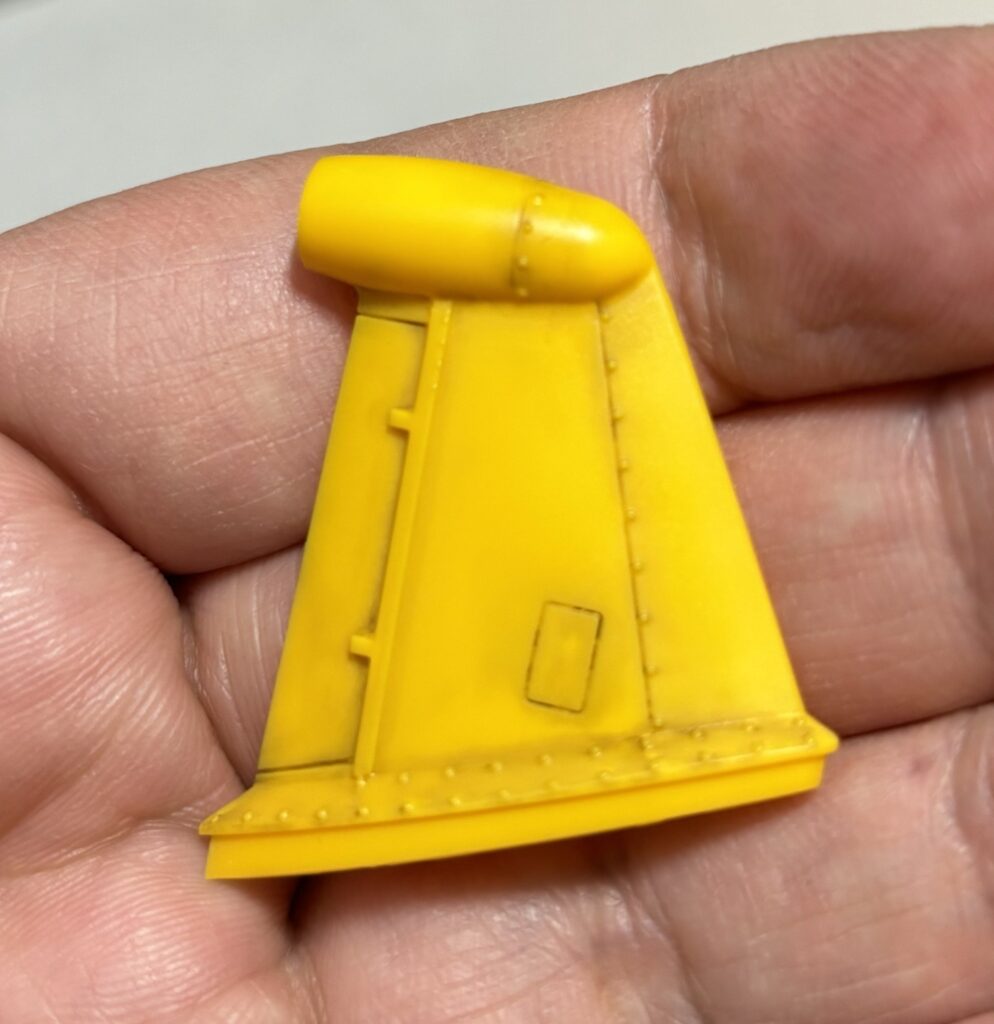
尾翼の墨入れ -Panel lining on the tail fin-
1回目の墨入れはガンダムマーカー。
2回目は、アクリルガッシュをマジックリンと水で希釈したもの。
For the first panel lining, I used a Gundam Marker.
For the second, I thinned acrylic gouache with Magiclean and water.
“Magiclin is a Japanese multi-purpose cleaner for kitchens, bathrooms, and household surfaces.”
塗装の順番のまとめ-Summary of Painting Order-
やってくうちに塗り方が決まってきたのでまとめてみる。
①塗装する前にガンダムマーカーで墨入れ
②塗装
③ワックスでコーティング
④アクリルガッシュで墨入れ
As I worked on it, I figured out the painting method, so I put together this summary.
1. Panel lining with a Gundam Marker before painting
2. Painting
3. Coating with wax
4. Panel lining with acrylic gouache
完成!-Finished!-
初めてのアクリルガッシュでの塗装でしたが、なかなか満足の出来栄え(笑)
次は何作ろうかな〜。
It was my first time painting with acrylic gouache, but I’m pretty satisfied with the result! (lol)
I wonder what I should make next.
